Deploy your ML Model with Celery, RabbitMQ and FastAPI
2023-11-05
Contents
Introduction
Let’s say you have trained a new model, which can totally change the world as we know it. All that’s left is to deploy that model somewhere and let the world use it. But the model takes a while to perform inference, and if you deploy it on a single machine, the users’ waiting time will continue to increase, which is obviously suboptimal.
So, in this blog post, we will learn how to deploy your model using FastAPI, Celery and RabbitMQ. Let’s get started!
What is FastAPI?
FastAPI is a modern, fast (high-performance), web framework for building APIs with Python. We can use it to accept requests from users and send back responses or - if we need real-time communication - use WebSockets.
What is Celery and RabbitMQ?
Celery is a task queue. In simple terms, it just receives notifications that a task has been requested and puts those in a queue. It doesn’t perform those tasks itself, but rather puts those tasks in a queue (using the message broker), so that something else can perform those tasks (i.e. the worker).
RabbitMQ is a message broker. Whenever Celery gets notified about a new task, it uses a message broker (such as RabbitMQ) which in turn sends the message it to a Celery worker. The celery worker then performs the task and sends the result back to the message broker, which then sends it back to Celery.
A Celery worker is a process which performs whatever the task is. In our case, that’s going to be a machine learning model performing inference. Celery workers can be distributed across multiple machines, which means that we can scale our model to multiple machines and thus reduce the waiting time for users.
To summarise, we have a FastAPI app, hosted on some machine to which we can send POST requests. The FastAPI app also contains our Celery app. When we send a POST request, the FastAPI app uses Celery (which in turn uses RabbitMQ) to send a message to a Celery worker. The Celery worker performs the task and stores the result in the “Result Store”.
Many APIs these days use webhooks. When the user provides some endpoint and once our inference is done, we can send a POST request to that endpoint with the result. This notifies the user that the prediction is done.
Creating the Model
Normally, I would have just inserted a placeholder task, like simply a delay of a couple of seconds to simulate a model performing inference. But I thought it would be more interesting to actually use a model. This part will be very brief, as it’s not the main focus of this blog post.
The model in question will be a CNN trained on the MNIST dataset. Our app will contain a drawing section, where the user can draw a number and our model will try to predict it.
In the following collapsed section you can find the model and in the one after that the training code. It has 95% accuracy on MNIST. The model is saved in the models folder.
Model
import equinox as eqx
import jax.random
from jaxtyping import Array, PRNGKeyArray
from typing import Optional


class Model(eqx.Module):
    conv: eqx.nn.Conv2d
    mlp: eqx.nn.MLP
    max_pool: eqx.nn.MaxPool2d

    dropout: eqx.nn.Dropout

    def __init__(self):
        key, *subkeys = jax.random.split(jax.random.PRNGKey(33), 6)
        self.conv = eqx.nn.Conv2d(
            in_channels=1, out_channels=3, kernel_size=2, key=subkeys[1]
        )
        self.max_pool = eqx.nn.MaxPool2d(kernel_size=2)
        self.mlp = eqx.nn.MLP(
            in_size=2028, out_size=10, depth=3, width_size=128, key=subkeys[0]
        )
        self.dropout = eqx.nn.Dropout()

    def __call__(self, x: Array, key: Optional[PRNGKeyArray]):
        inference = True if key is None else False
        x = self.conv(x)
        x = self.max_pool(x)
        x = self.dropout(x, key=key, inference=inference)
        x = x.ravel()
        x = self.mlp(x)
        x = jax.nn.softmax(x)
        return x
Training
import functools as ft
import time

import equinox as eqx
import jax.numpy as jnp
import jax.random
import optax
from icecream import ic
from jaxtyping import Array, PyTree, PRNGKeyArray, Float, Int
from torch.utils.data import DataLoader, random_split
from torchvision import datasets, transforms

from model.model import Model


def main():
    # Transformations
    transform = transforms.Compose(
        [transforms.ToTensor(), transforms.Normalize((0.5,), (0.5,))]
    )

    # Download and load the training data
    trainset = datasets.MNIST(
        "~/.pytorch/MNIST_data/", download=True, train=True, transform=transform
    )

    # Split the dataset into train and validation sets
    train_size = int(0.8 * len(trainset))
    validation_size = len(trainset) - train_size
    train_dataset, validation_dataset = random_split(
        trainset, [train_size, validation_size]
    )

    # Create data loaders
    trainloader = DataLoader(train_dataset, batch_size=128, shuffle=True)
    validationloader = DataLoader(validation_dataset, batch_size=128, shuffle=True)

    model = Model()
    optim = optax.adamw(learning_rate=0.001)
    opt_state = optim.init(eqx.filter(model, eqx.is_inexact_array))
    key = jax.random.key(45)
    start_time = time.time()
    for epoch in range(5):
        model = train(model, opt_state, optim, trainloader, key)
        eval_loss = evaluate(model, validationloader)
        ic(epoch, eval_loss)
    end_time = time.time()

    ic("training took " + str(end_time - start_time))
    eqx.tree_serialise_leaves("../models/model.eqx", model)


def loss_fn(
    model: PyTree,
    x: Float[Array, "batch 1 28 28"],
    y: Int[Array, " batch"],
    key: PRNGKeyArray,
) -> Float[Array, ""]:
    partial_model = ft.partial(model, key=key)
    pred_y = eqx.filter_vmap(partial_model)(x)

    loss = optax.softmax_cross_entropy(pred_y, y)

    return jnp.mean(loss)


@eqx.filter_jit
def step(
    model: PyTree,
    optim: optax.GradientTransformation,
    opt_state: PyTree,
    x: Array,
    y: Array,
    key: PRNGKeyArray,
):
    loss, grads = eqx.filter_value_and_grad(loss_fn)(model, x, y, key)
    updates, opt_state = optim.update(grads, opt_state, model)
    model = eqx.apply_updates(model, updates)

    return model, opt_state, loss


def one_hot_encode(labels, num_classes=10):
    return jnp.eye(num_classes)[labels]


def evaluate(model: PyTree, eval_dataloader: DataLoader):
    loss = 0
    accuracy = 0
    counter = 0
    acc_fn = lambda a, b: jnp.argmax(a) == b
    jitted_loss = eqx.filter_jit(loss_fn)
    for x, y in eval_dataloader:
        counter += len(x)
        x = x.numpy()
        target = y.numpy()
        y = one_hot_encode(y.numpy())
        loss += jitted_loss(model, x, y, key=None)

        pt_model = ft.partial(model, key=None)
        output = eqx.filter_vmap(pt_model)(x)
        accuracy += jnp.sum(jax.vmap(acc_fn)(output, target))

    return loss / counter, accuracy / counter


def train(
    model: PyTree,
    opt_state: PyTree,
    optim: optax.GradientTransformation,
    train_dataloader: DataLoader,
    key: PRNGKeyArray,
):
    for i, (x, y) in enumerate(train_dataloader):
        key, subkey = jax.random.split(key)
        x = x.numpy()
        y = one_hot_encode(y.numpy())
        model, opt_state, train_loss = step(model, optim, opt_state, x, y, subkey)
    return model


if __name__ == "__main__":
    main()
Alright, now we have a model trained and ready to go. What’s next?
Deploying the Thing
Our architecture consists of multiple moving parts, which are illustrated in the following diagram:

Let’s start with the FastAPI part, as that’s pretty simple. Essentially, we need a FastAPI app with a POST endpoint which accepts an image and returns a task ID. The task ID is used to retrieve the status of the inference. This is quite the overkill, because our inference only takes a new ms. But if you had a bigger model, such as a GAN or Stable Diffusion, then it makes sense to give the user access to the status of the inference.
Here’s an overview of the final project, just so you know where everything lies:

Celery needs a place to store the results of the tasks. This is called the Result Store. In production, you would probably use something like MySQL or Postgres, but to keep things simple, I created a simple SQLite database using this command:
sqlite3 results.db ".save results.db"
Let’s look at the FastAPI part first. We need two endpoints: one to create a task and one to retrieve the current status of a task.
from fastapi import FastAPI
import uvicorn

from mnist_cnn.worker import predict_number, celery

app = FastAPI()


@app.post("/task/")
async def post_task():
    async_res = predict_number.delay()
    return async_res.id


@app.get("/task/")
async def get_task(task_id: str):
    task_result = celery.AsyncResult(task_id)
    return task_result.status


def main():
    uvicorn.run("main:app", port=8004, reload=True)


if __name__ == "__main__":
    main()
We’ll get to the worker in just a moment. If you run this code and go to localhost:8004/docs, you should see the API Swagger UI. From there you can test your api. Now, let’s have a look at the worker.
Celery workers are processes which eventually perform the tasks. They are independent processes of the FastAPI app and they started differently as a result. Once they’re done, they store the result of the task in the backend.
Here’s our worker code. Notice, that the ML part is currently missing and instead we just have a placeholder. But that will get replaced very soon!
import time
import pathlib

from celery import Celery
import os
from dotenv import load_dotenv

load_dotenv()

db_path = pathlib.Path(__name__).parent.absolute() / "results.db"
CELERY_RESULT_BACKEND = f"db+sqlite:///{db_path}"
CELERY_BROKER_URL = os.environ.get("CELERY_BROKER_URL")

celery = Celery(__name__, broker=CELERY_BROKER_URL, backend=CELERY_RESULT_BACKEND)


@celery.task(name="predict_number")
def predict_number():
    time.sleep(1)
    return 0  # for now, we will replace this with our model soon
That worker can easily be started using the following command:
poetry run python3 -m celery -A mnist_cnn.worker.celery worker --loglevel=INFO
But let’s not actually do that yet. Instead go to the API at localhost:8004/docs and try to send a POST request. You should get a task ID back. Now, go to localhost:8004/task?task_id=… and you should see that the task is still pending. Now, let’s start the worker and check the status of the task again!
As you can see, the code is dead-simple. Just define the Celery object given the broker and backend and that’s it. If you have already some broker running somewhere and want to use that, great! If not, the following section highlights how to set up RabbitMQ on a remote server (such as Linode in my case).
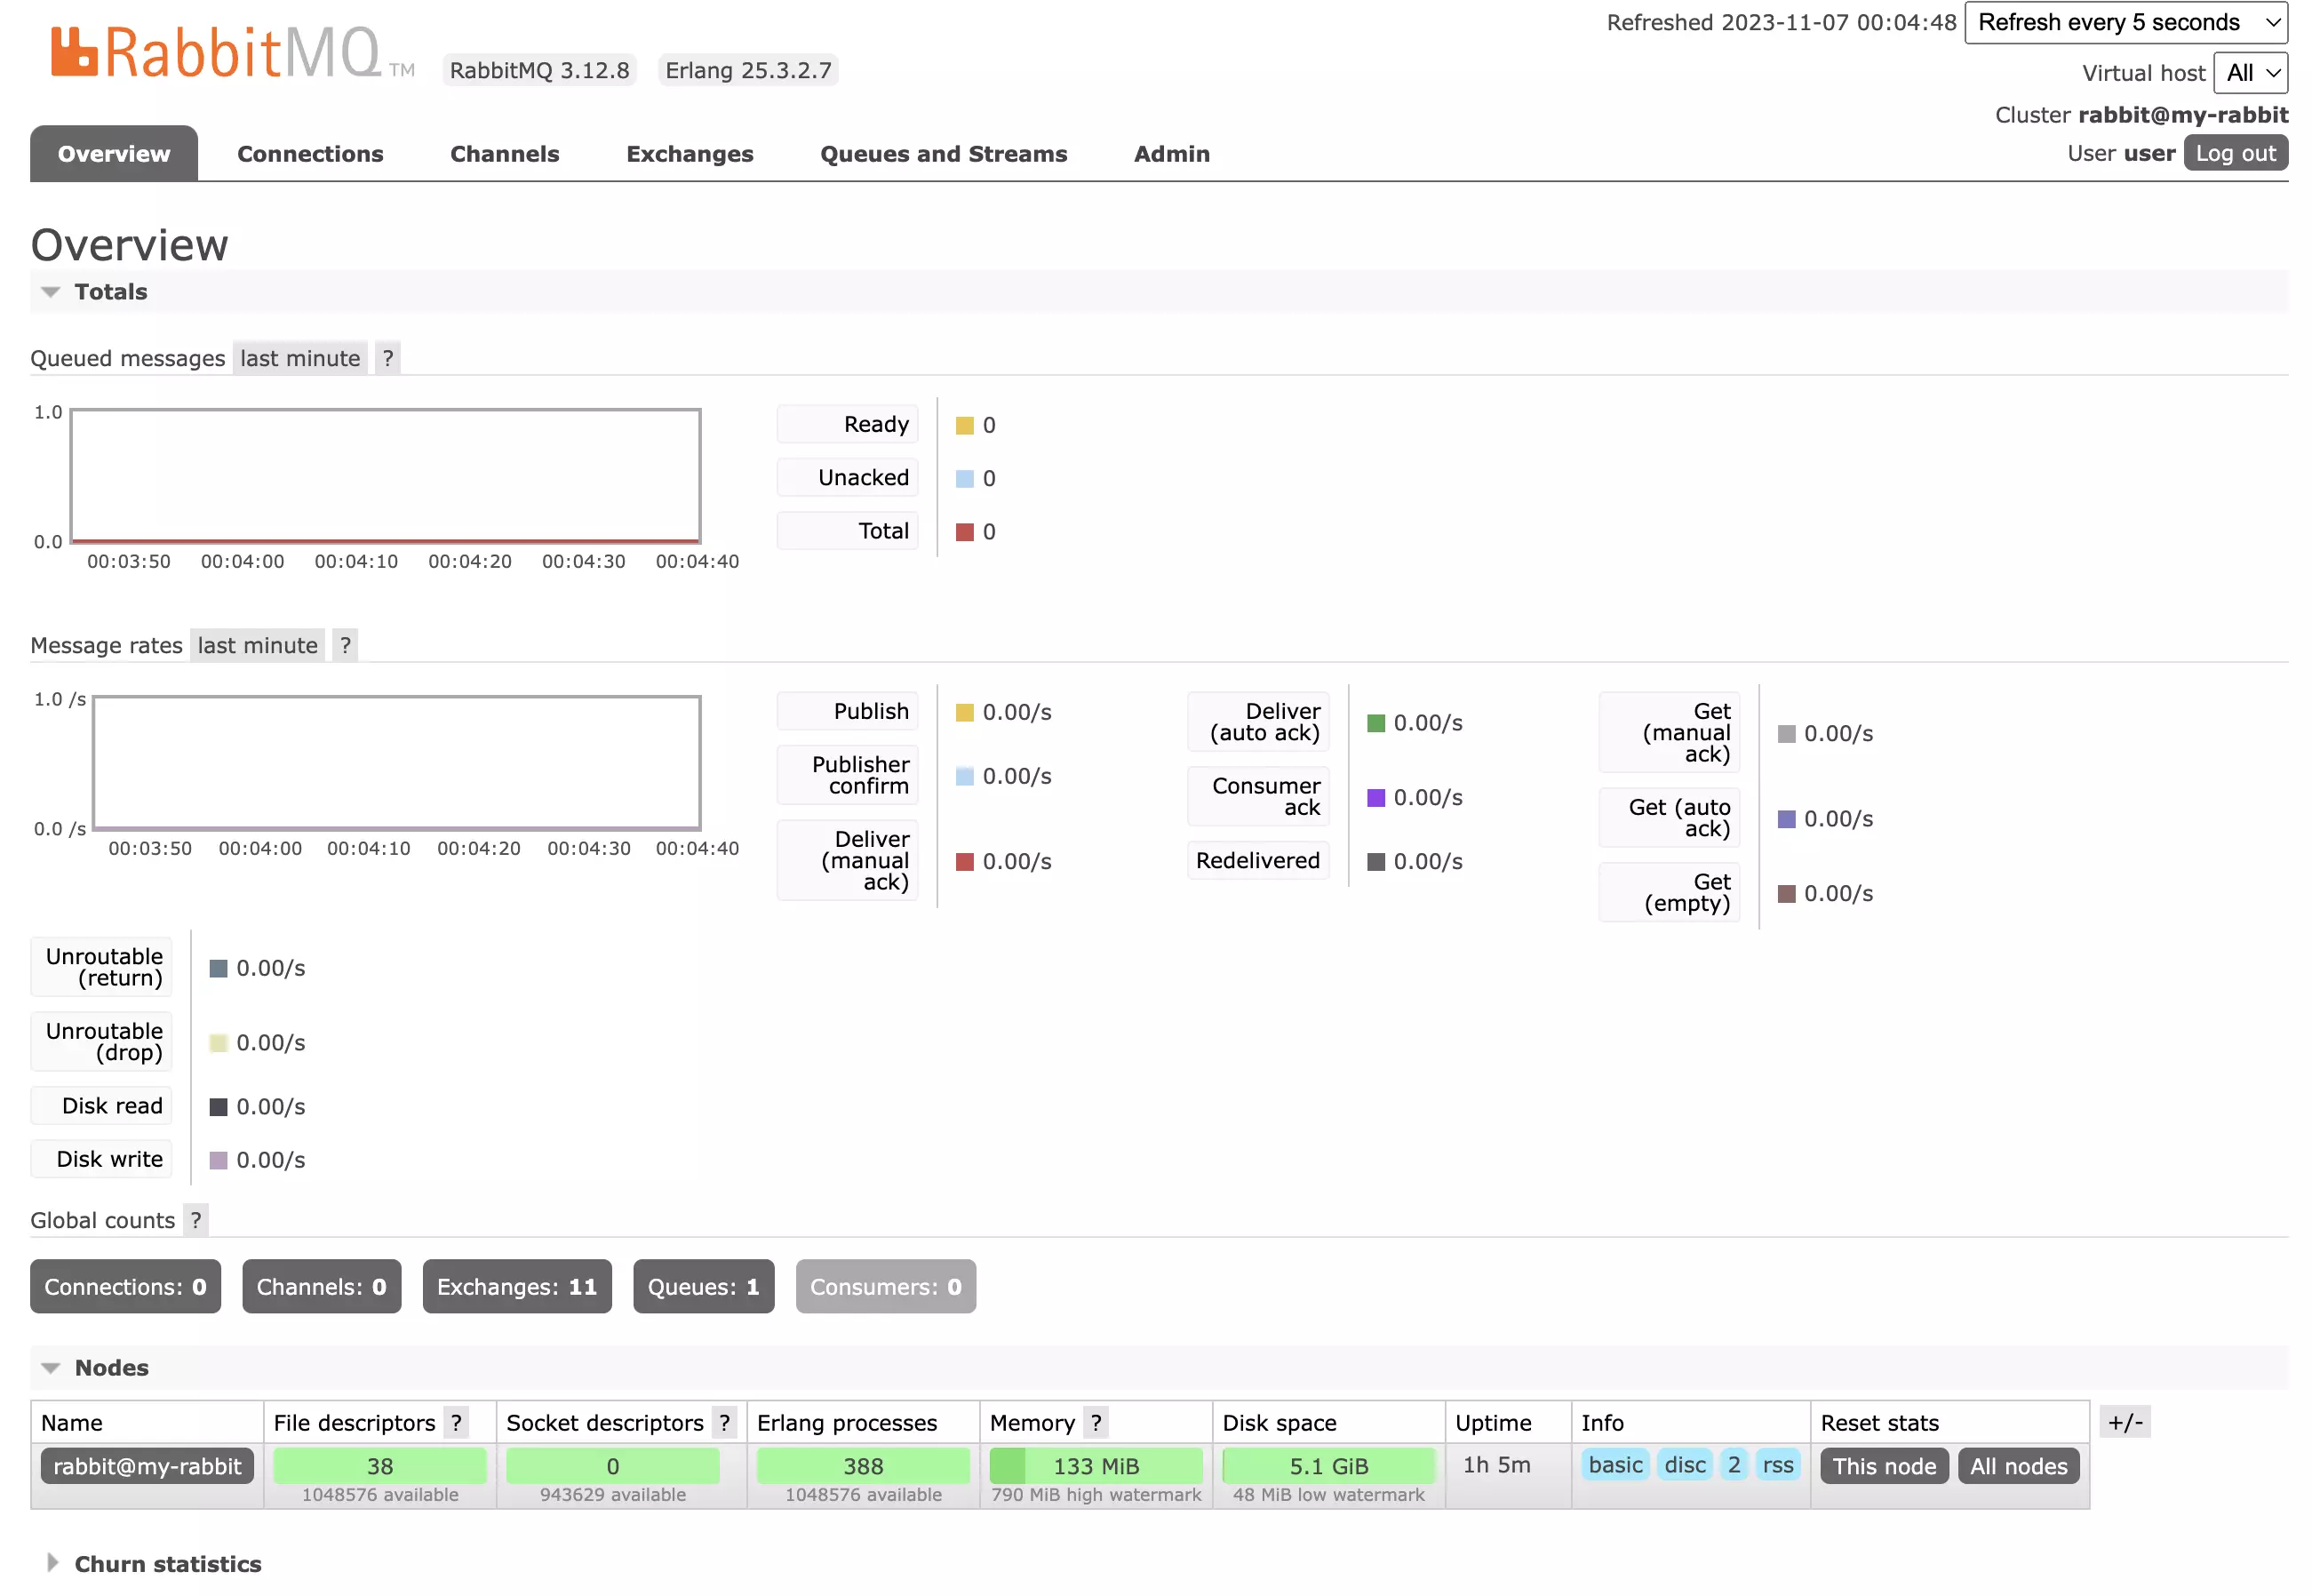
Setting up RabbitMQ
In my case, I’m using Linode. And if you want to allow remote connections to your RabbitMQ server, you need to open up some ports: 4369, 5671-5672, 15671, 15672, 15691-15692, 25672. Do you really need all of those? Honestly, I don’t know. I just opened them all up just in case and it worked. Perhaps you - the reader - can do an ablation study and write in the comments which ports are actually needed.
I’d also recommend to dockerize everything!. This means to run RabbitMQ in a docker container. It’s important that when you do that, you also bind the container’s ports to the one’s from your host machine; otherwise, you won’t be able to connect to the RabbitMQ server and it will tell you Connection refused:
docker run -d --hostname my-rabbit --name some-rabbit -e RABBITMQ_DEFAULT_USER=user -e RABBITMQ_DEFAULT_PASS=aligator3 -p 4369:4369 -p 5671:5671 -p 5672:5672 -p 15671:15671 -p 15691-15692:15691-15692 -p 25672:25672 -p 15672:15672 --network main_net rabbitmq:3-management
Then, you can also setup a reverse proxy and use a domain name to access the RabbitMQ management UI. This is my nginx config (relevant part only):
    upstream rabbitmq_management {
            server some-rabbit:15672;
    }

    server {
            listen 443 ssl;
            server_name www.yourURL.com;

            ssl_certificate /etc/letsencrypt/live/www.yourURL.com/fullchain.pem; # Adjust to your certificate's path
                    ssl_certificate_key /etc/letsencrypt/live/www.yourURL.com/privkey.pem; # Adjust to your key's path
                    include /etc/letsencrypt/options-ssl-nginx.conf; # managed by Certbot

                    location / {
                            proxy_pass http://rabbitmq_management; # This must match the upstream name
                            proxy_set_header Host $http_host;
                            proxy_set_header X-Real-IP $remote_addr;
                            proxy_set_header X-Forwarded-For $proxy_add_x_forwarded_for;
                            proxy_set_header X-Forwarded-Proto $scheme;
                            proxy_read_timeout 300;
                            proxy_connect_timeout 300;
                            proxy_redirect off;
                    }
    }
Afterwards, you would also start the Nginx docker container and map the ports 80 and 443 to the host machine. Then, you can access the RabbitMQ management UI at your url.
Creating our App and Using our Model
If you’ve managed to get to this point, then congratulations! You’ve done the hard part. I for one needed 3 hours just to debug why my connection wasn’t working until I realised that I forgot to bind the ports of the docker container to the host machine. So, if you’re stuck, don’t worry, it’s probably something simple.
At this point, you have all the building blocks to create your ML app and can theoretically deploy your workers with the above script thousands of times and scale your model to the moon. Let’s finish this up by creating our drawing up where the user can draw digits and then - instead of our placeholder - put in our model. Later, we will also add a webhook, so that the user gets notified when the inference is done. But if you don’t need that or you already know how to do that part, you can stop here. Otherwise, let’s continue!
Our dataset were 28x28 pixels of grayscale images. In other words, we need a 28x28 grid, where the user can hover over the cells and draw a digit. The specifics aren’t all that important, but if you’re interested, you can unfold the following section to see that part in action.
The Drawing App
<script lang="ts">
    import {onDestroy, onMount} from "svelte";

    let websocketUrl = "wss://api.jitx.io/ws/"
    let apiUrl = "https://api.jitx.io/predict"

    let gridSize = 28;
    let grid = Array(gridSize).fill(0).map(() => Array(gridSize).fill(0));
    let isMouseDown = false;

    let prediction: number = -1;
    let websocket: WebSocket;
    let randomUserId = String(Math.floor(Math.random() * 1000000)) + "user";
    function clearGrid() {
        grid = Array(gridSize).fill(0).map(() => Array(gridSize).fill(0));
    }

    let predictInterval: any;
    onMount(() => {
        // predictInterval = setInterval(async () => {
        //     await predict();
        // }, 1000)
        console.log("userId", randomUserId)
        websocket = new WebSocket(websocketUrl + randomUserId);
        websocket.onopen = () => {
            console.log("opened")
        }
        websocket.onmessage = (event) => {
            const data = JSON.parse(event.data);
            console.log(data)
            if (data.type === "prediction") {
                prediction = data.prediction;
            }
        }
    })

    onDestroy(() => {
        clearInterval(predictInterval);
    })

    async function predict() {
        let gridArrayFlattened = grid.flat();
        console.log(gridArrayFlattened)
        let req = await fetch(apiUrl, {
            method: "POST",
            headers: {
                "Content-Type": "application/json"
            },
            body: JSON.stringify({
                array: gridArrayFlattened,
                user_id: randomUserId
            })
        })

        let res = await req.json();
        console.log(res)
    }

    function handleMouseDown() {
        isMouseDown = true;
    }

    function handleMouseUp() {
        isMouseDown = false;
    }

    function darkenCell(row: number, col: number) {
        if (isMouseDown) {
            // Darken the clicked cell
            grid[row][col] = Math.min(grid[row][col] + 2, 10); // increment, but cap the value

            // Update the neighbors
            const neighborOffsets = [-1, 0, 1];
            neighborOffsets.forEach((dx) => {
                neighborOffsets.forEach((dy) => {
                    if (dx === 0 && dy === 0) {
                        // Skip the main cell
                        return;
                    }
                    const newRow = row + dx;
                    const newCol = col + dy;
                    // Check if the new indices are within the bounds of the grid
                    if (newRow >= 0 && newRow < gridSize && newCol >= 0 && newCol < gridSize) {
                        // Darken the neighboring cell to a lesser degree
                        grid[newRow][newCol] = Math.min(grid[newRow][newCol] + 1, 10);
                    }
                });
            });
        }
    }
</script>

<style>
    .mnist-grid{
        display: grid;
        grid-template-columns: repeat(28, auto);
        grid-template-rows: repeat(28, auto);
        column-gap: 0 !important;
        row-gap: 0 !important;
    }
    .cell {
        border: 1px solid lightgray;
        margin: 0 !important;
        padding: 0 !important;
    }
</style>

<div class="mnist-grid w-[400px] md:w-[600px] mx-auto"
     on:touchstart={handleMouseDown}
     on:touchend={handleMouseUp}
     on:mousedown={handleMouseDown}
     on:mouseup={handleMouseUp}>
    {#each grid as row, rowIndex}
        {#each row as cell, colIndex}
            <div class="cell h-[14.28px] md:h-[21.42px] "
                 style="background-color: hsl(0, 0%, {100 - cell * 25}%)"
                 on:mouseenter={() => darkenCell(rowIndex, colIndex)}
                 on:touchmove={() => darkenCell(rowIndex, colIndex)}
            >
            </div>
        {/each}
    {/each}
</div>
<div class="flex justify-center my-8 space-x-4">
    <button
            on:click={clearGrid}
            class="btn btn-secondary">
        Clear
    </button>
    <button
            on:click={predict}
            class="btn btn-primary"
    >
        Predict
    </button>
</div>
{#if prediction !== -1}
    <div class="text-center">
        Prediction {prediction}
    </div>
{/if}
If you checked the code, you will notice that I built in a websocket, which is used to send the prediction back from the server to the client in real time. Similarly, I added this part to the FastAPI code as well. Furthermore, we now have a webhook too. So, when the inference is done, the Celery worker makes a post request to our FastAPI app, which in turn sends a websocket message to the user and the user gets notified that the inference is done.
Here’s the final FastAPI code:
import json
from typing import List

import uvicorn
from fastapi import FastAPI, WebSocket, WebSocketDisconnect
from icecream import ic
from pydantic import BaseModel
from starlette.middleware.cors import CORSMiddleware

from mnist_cnn.worker import celery, predict_number


app = FastAPI()
app.celery_app = celery
all_active_connections = {}
task_id_to_user_id = {}


async def connect(active_connections: dict, websocket: WebSocket, user_id: str):
    await websocket.accept()
    if user_id not in active_connections:
        active_connections[user_id] = {}
    active_connections[user_id] = websocket


async def disconnect(active_connections: dict, websocket: WebSocket, user_id: str):
    try:
        await websocket.close()
    except Exception as _:
        ic("Websocket already closed")
    del active_connections[user_id]


@app.websocket("/ws/{user_id}")
async def websocket_endpoint(websocket: WebSocket, user_id: str):
    await connect(all_active_connections, websocket, user_id)
    try:
        while True:
            await websocket.receive_text()
    except WebSocketDisconnect:
        ic(f"Websocket closed for user {user_id}")
        await disconnect(all_active_connections, websocket, user_id)


class PredictionRequest(BaseModel):
    array: List[int]
    user_id: str


class PredictionResponse(BaseModel):
    prediction: int
    task_id: str


@app.post("/predict")
async def make_prediction(prediction_request: PredictionRequest):
    async_res = predict_number.delay(prediction_request.array)
    task_id_to_user_id[async_res.id] = prediction_request.user_id
    return async_res.id


@app.get("/predict/{task_id}")
async def get_prediction(task_id: str):
    task_result = celery.AsyncResult(task_id)
    return task_result.status


@app.post("/predict/webhook")
async def task_webhook(prediction_response: PredictionResponse):
    try:
        task_result = celery.AsyncResult(prediction_response.task_id)
        user_id = task_id_to_user_id[prediction_response.task_id]
        await all_active_connections[user_id].send_text(
            json.dumps({"type": "prediction", "prediction": task_result.get()})
        )
        # remove task id from dict
        del task_id_to_user_id[prediction_response.task_id]
        return task_result.status
    except Exception as e:
        ic(e)
        return "Error, " + str(e)


middleware = CORSMiddleware(
    app=app,
    allow_origins=["*"],
    allow_credentials=True,
    allow_methods=["*"],
    allow_headers=["*"],
)


def start():
    uvicorn.run("mnist_cnn.main:app", host="0.0.0.0", port=8004, reload=False)
And here’s the final worker code:
import logging
import os
import pathlib

import equinox as eqx
import jax.numpy as jnp
import matplotlib
import requests
from celery import Celery
from celery.signals import celeryd_init, task_success, task_postrun
from dotenv import load_dotenv

from mnist_cnn.cnn.model.model import Model

logger = logging.getLogger(__name__)
load_dotenv()

CELERY_RESULT_BACKEND = os.environ.get("CELERY_RESULT_BACKEND")
CELERY_BROKER_URL = os.environ.get("CELERY_BROKER_URL")
FASTAPI_URL = os.environ.get("FASTAPI_URL")

assert CELERY_BROKER_URL is not None, "Celery broker URL not set"
assert FASTAPI_URL is not None, "FastAPI URL not set"
assert CELERY_RESULT_BACKEND is not None, "Celery result backend not set"


celery = Celery(__name__, broker=CELERY_BROKER_URL, backend=CELERY_RESULT_BACKEND)
celery.conf.update(broker_connection_retry_on_startup=True)
model: Model | None = None


@celeryd_init.connect
def init_celery(**kwargs):
    print("Initializing celery...")
    print("Loading model")
    global model
    model_dir = pathlib.Path(__name__).parent.absolute() / "mnist_cnn/models/model.eqx"
    init_model = Model()
    try:
        model = eqx.tree_deserialise_leaves(model_dir, init_model)
    except Exception as e:
        print("Model loading failed", e)
    print("Model loaded")


@task_postrun.connect
def task_postrun_handler(
    task_id,
    task,
    retval,
    state,
    **kwargs,
):
    logger.info(f"Task {task_id} succeeded; sending webhook")
    req = requests.post(
        f"{FASTAPI_URL}/predict/webhook",
        headers={"Content-Type": "application/json"},
        json={"prediction": retval, "task_id": task_id},
    )
    if req.status_code != 200:
        logger.error(
            f"Failed to send webhook for task {task_id}, got {req.status_code}"
        )
    else:
        logger.info(f"Webhook sent for task {task_id}")


@celery.task(name="predict_number")
def predict_number(array: list):
    global model
    if not model:
        raise Exception("Model not loaded")
    array = jnp.array(array, dtype=float).reshape(1, 28, 28)
    prediction = jnp.argmax(model(array, key=None))
    return int(prediction)
Notice, how we used Celery signals to send a webhook to our FastAPI app once the task is done. This is important, because otherwise, the user would have to constantly poll the status of the task, which is inefficient.
Alright, with this knowledge, you should be able to deploy your own ML models using Celery, RabbitMQ and FastAPI. If you have any questions, feel free to ask them in the comments below.
Thanks for reading!